| 1. Compare whole-window U-values | Heat transfer through the complete window or door unit. | A tested whole-product U-value in W/m²·K; a lower value generally means less heat loss. Compare like-for-like sizes and configurations. | Is this the whole-unit value or only the centre-of-glass value? Does it apply to the size and opening style quoted? | Product data sheet or test report stating the unit size, configuration, and calculation or test method. |
| 2. Choose glazing for the climate and orientation | Glass build-up, heat loss, solar gain, and daylight. | Double or triple glazing as appropriate; low-emissivity coatings and gas-filled cavities can improve insulation. Solar-control glass may help manage strong sun. | What are the glazing U-value and solar heat gain coefficient (SHGC or g-value)? Is the glass suited to this window's orientation? | Glazing specification identifying pane count, coating, cavity fill, U-value, and solar-gain rating. |
| 3. Check for a thermally broken frame | The aluminium frame's resistance to heat flow. | A thermal break separates the interior and exterior aluminium sections with a lower-conductivity material, reducing heat transfer through the frame. | Does the quoted system include a thermal break? Is its performance included in the whole-product rating? | Section drawings and verified performance figures for the complete frame and glazed unit. |
| 4. Review air leakage and weather resistance | Sealing against drafts, wind-driven rain, and pressure differences. | Look for tested air-permeability, water-resistance, and wind-load classifications under a recognized standard applicable in your region. | Were the ratings tested on this opening type and size? Are the results suitable for local exposure and building requirements? | Current third-party test results or a product declaration listing the standard and classification. |
| 5. Examine locking and hinge security | Resistance to forced entry at the opening edge and hinges. | Consider multipoint locking, robust keeps, secure hinge-side protection, and hardware designed for the specific sash or door size. | How many locking points are provided? Are the hinges and keeps protected when the unit is closed? | Hardware schedule and, where required, an independently tested security classification accepted locally. |
| 6. Consider laminated or security-rated glass | Glass breakage behavior and resistance to penetration. | Laminated glass holds fragments together after breakage; the appropriate glass type depends on location, safety rules, and the security objective. | Is safety glazing required here? Does the proposed glass meet the relevant impact or security standard? | Glass make-up and compliance documentation for applicable safety-glazing requirements. |
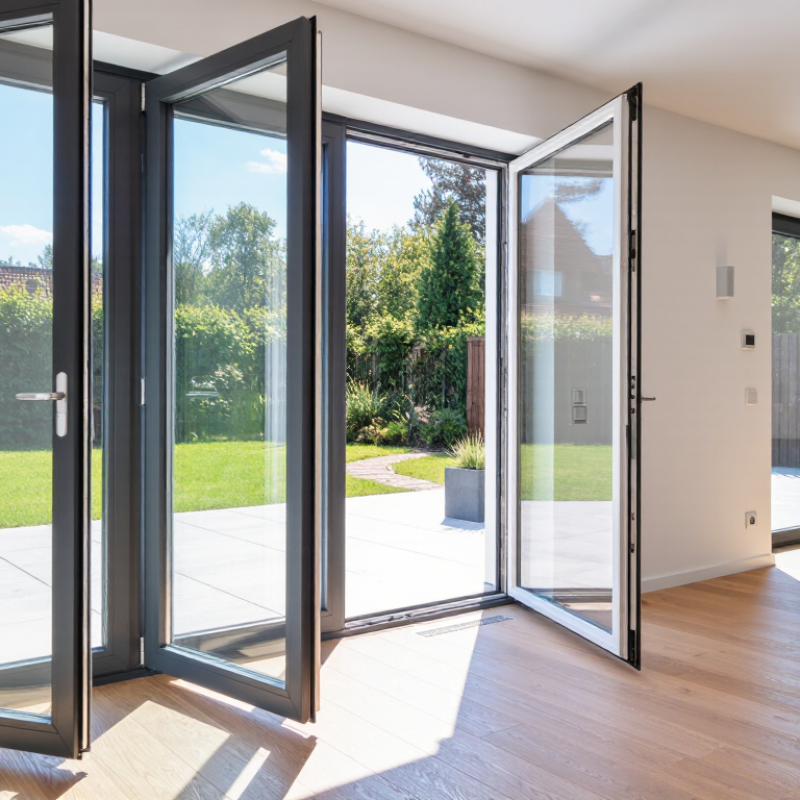
| 7. Match the opening style to the room | Ventilation, access, clearance, and operation. | Casement sashes open outward or inward depending on design. Check nearby paths, furniture, screens, wind exposure, and emergency-egress requirements. | Which way does the sash open? Will it obstruct a walkway or be easy to reach and operate? | Dimensioned drawings showing handing, clear opening, and any required escape opening. |
| 8. Verify drainage and condensation details | Moisture management and performance at frame edges. | Check that drainage paths and weep openings are correctly designed and kept clear. Warm-edge spacers can reduce heat flow around the glass edge. | How is water drained from the frame? What installation details help limit condensation at the frame and glass edges? | System drawings, glazing details, and installation guidance for drainage and perimeter sealing. |
| 9. Assess finish and maintenance requirements | Durability of the coating and care needed over time. | Confirm the coating type, care instructions, and suitability for the property's environment. Coastal or industrial exposure may call for specific finish guidance. | What cleaning products are safe? What finish-care and warranty conditions apply? | Written maintenance instructions and warranty terms for the finish and hardware. |
| 10. Confirm installation and aftercare | How the unit is measured, fitted, sealed, adjusted, and supported. | Correct installation is essential to achieving the intended airtightness, weather resistance, operation, and security of the complete assembly. | Who is responsible for installation? Are adjustment, repair, and warranty support clearly documented? | Installation specification, completion checklist, warranty documentation, and service contact details. |